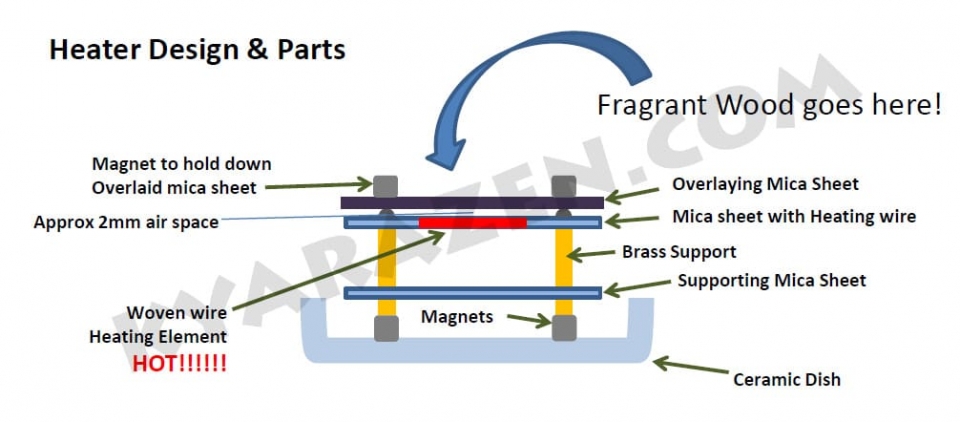
There is strictly no rocket science behind building an electric incense heater. Just a bit tedious at times, and some safety concerns during the working process. Part 1 here will just show the rough concepts and the designs. Part 2, which will come later, will be a pictorial walk through.
Safety precautions :
- Burner does get hot, do not touch anything that is hot enough to get yourself hurt
- Do wear an N95 Mask when drilling mica sheets, and remove it only when you have sufficiently cleaned up the working area of all fine dust to prevent inhaling.
- Be aware of basic knowledge in electrical circuits, so as not to short-circuit anything
- Keep it away from children and pets!
Concept
- Heating is achieved by passing electricity through a heating wire. This wire, with sufficient power, emits heat both by conduction and radiation (in the form of infra red)
- All constructions are to be made of Mica, this is an excellent insulator, and an odourless, reliable material for building heating elements around it
- All Joints are preferably mechanical. NO soldering of any sort, because you are heating to hundreds of degrees, most solders will melt and fail in such conditions
- Ensure that the mica sheets purchased are raw, not laminated nor those composite type, where they may contain silicone resin. the heating wire is “sewn” through these mica sheets.
Parts List
- Power supply – you may choose any voltage that you like but I predominantly focus on the use of 12V power adapters. It will be good to get one with a “built in” voltage adjuster, like in this. Alternatively, it can be more reliable to get a lab benchtop power supply that goes from 0-15V, 2A at least. If you like things to be lasting and over-spec, you can consider 0-30V 5A, but never to go above 18V as the temperature might be too high for the heating wire to be lasting.
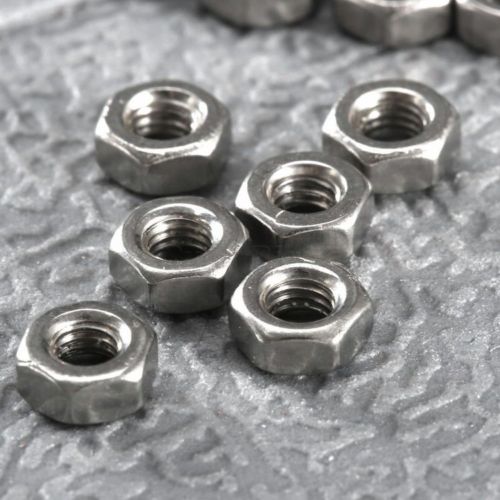
- Brass or metal Hex Spacers, or PCB spacers, PCB standoffs. The height of these is up to your preference. I usually use those of the M3 screw thread system, i.e. it takes M3 nuts and m3 screws. 4 pieces of spacers, 4 screws, and 8 nuts.

- M3 Nuts and Screw

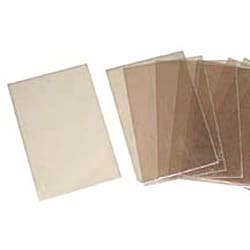
- Mica Sheets, generally 2″ x 2″ in size, larger or smaller depending on your preference, thickness to be at least 0.1 mm. the thinner the mica sheet, the softer the structure and heater. the thicker, the more rigid the final product. Remember, raw mica, and non laminated, non composite.
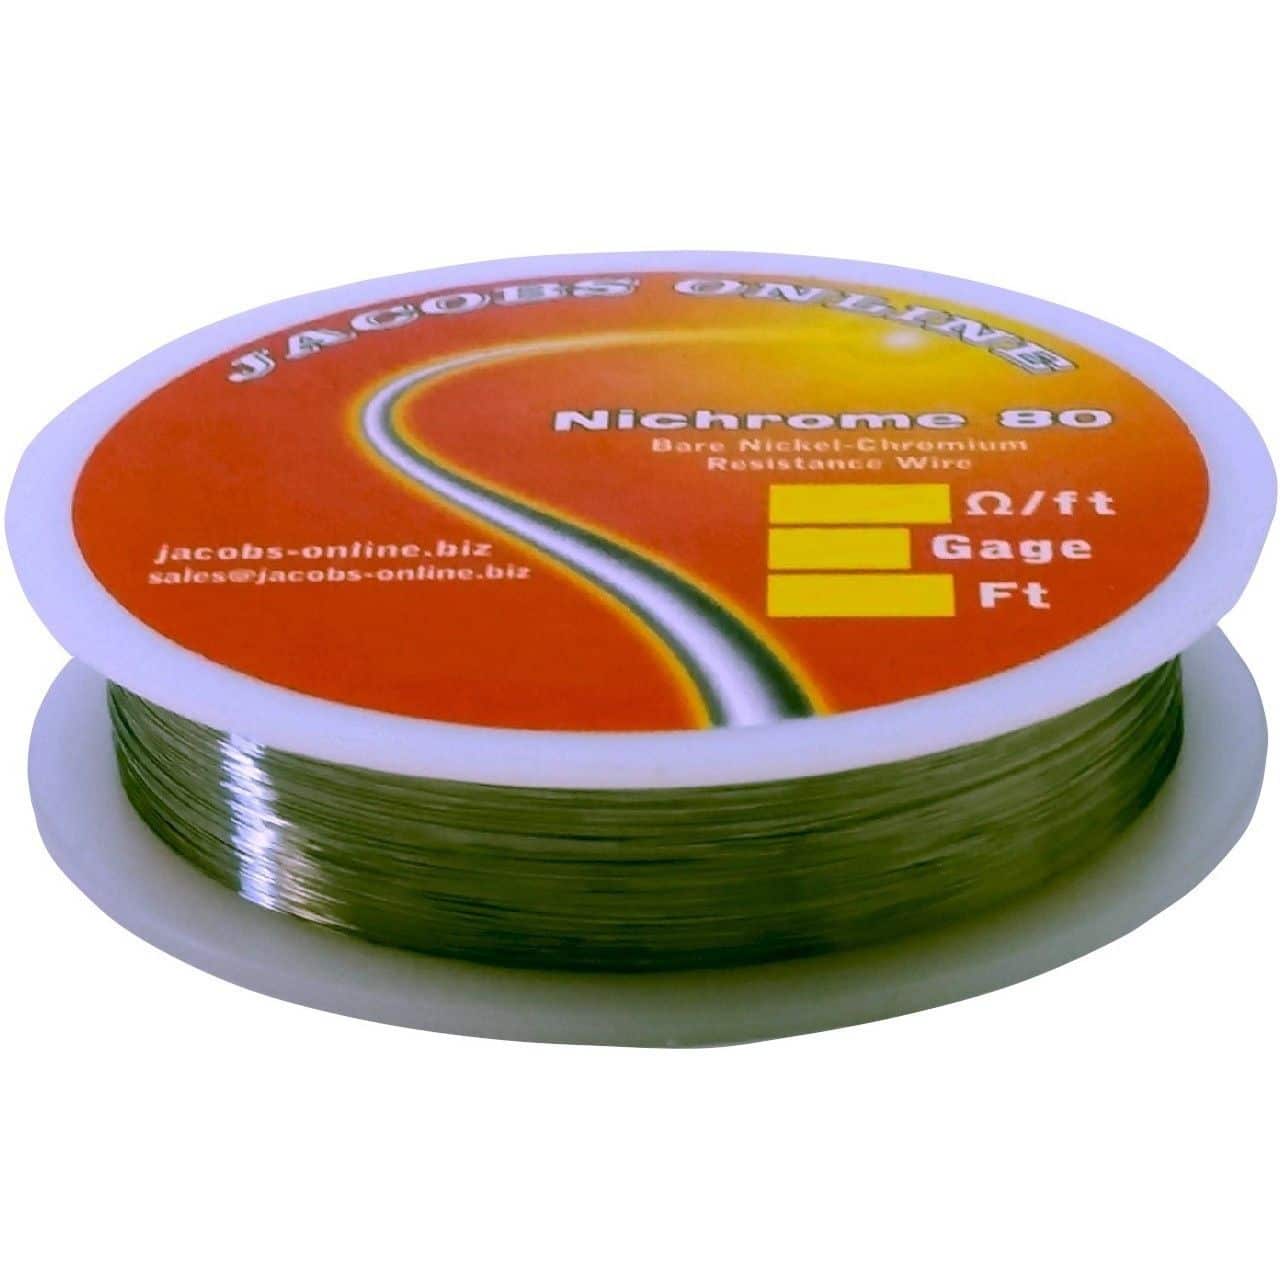
- Heating Wire. This can be anything you like, from Kanthal, to Nichrome etc. Using Nichrome 60 or 80 is fine, I prefer Nichrome 80. The gauge can vary a lot, but I like to use 32-34 gauge, generally 32 gauge. you can buy them from Jacob’s Online store either on ebay or directly from their website. They have short lengths available as well so you need not buy a huge roll.
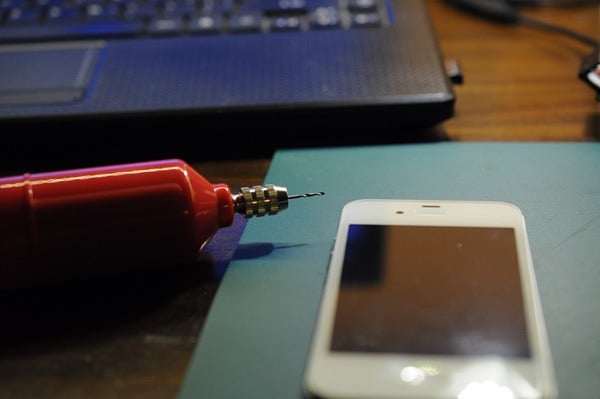
- A Drill with a fine bit, or an engraver pen, that allows for easy hole making in the mica sheets.
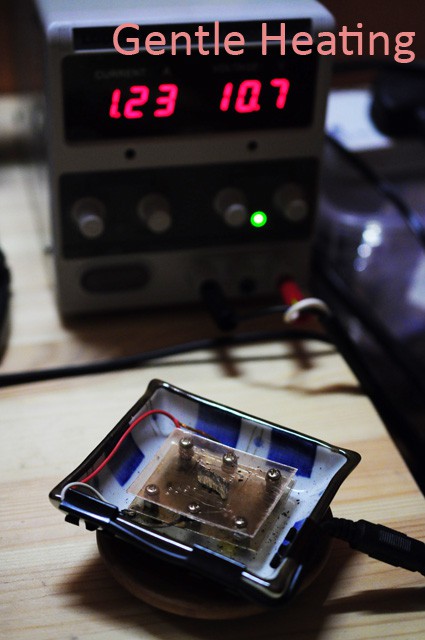
- A dish or a vessel to support the whole heating assembly.
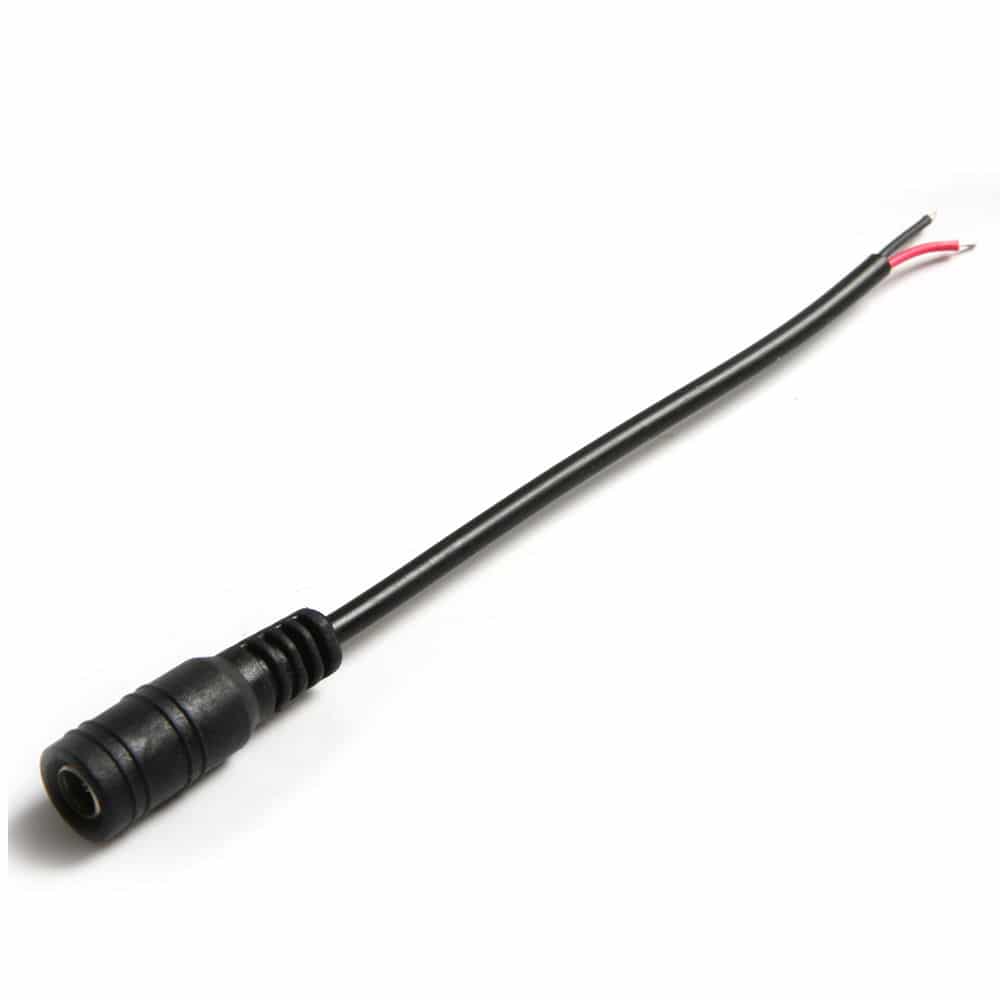
- Wires with a 5.5mm x 2.1mm female plug
The Basic Heater Assembly
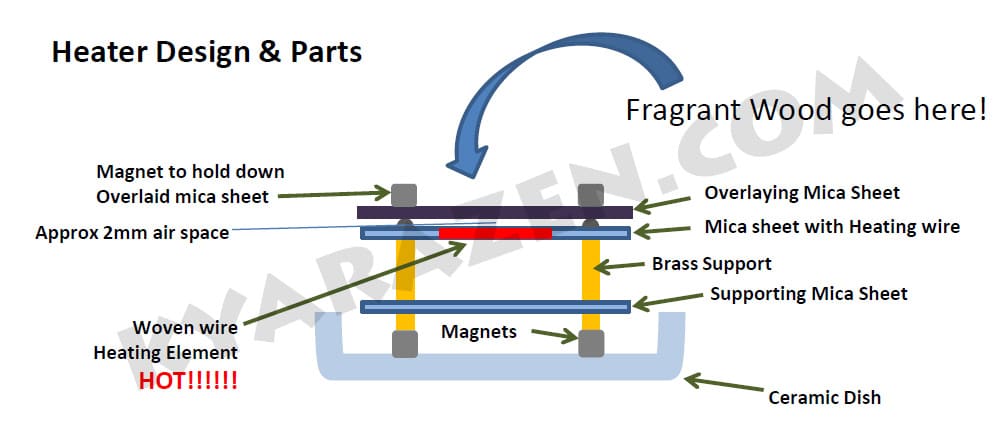
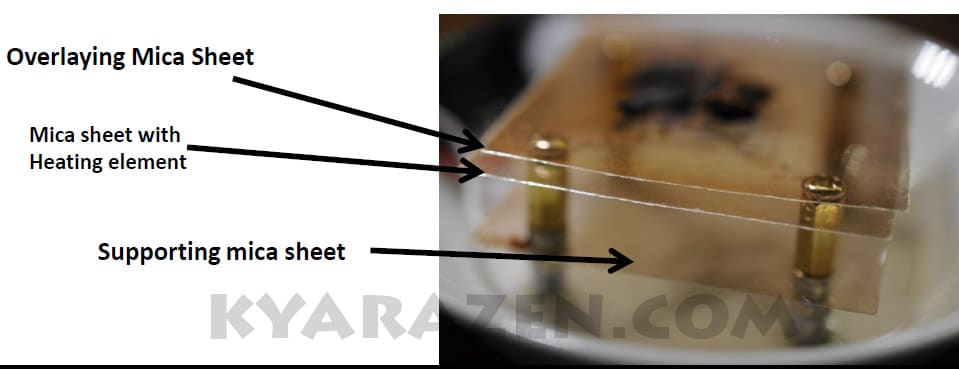
You will need 3 mica sheets at least, 4 brass support (hex spacers), 4 m3 screw, 8 M3 nuts.
Deciding on a Wire Length
If you plug in values into a nichrome wire calculator :
assuming that you have a maximum voltage of 12V and a maximum current of 2 amps due to the power adaptor that you had decided on, 27cm of a 32 AWG wire will give you a resistance of 9.35 ohms, and a current drawn at 1.28 amps at 12 Volts. That is pretty decent, operating at approximately 60% of the max current that the adapter can provide. This will improve power adapter durability.
The wire’s temperature at this point is about 493 °C, which is the “contact temperature”. Since we’re radiating heat across a 2mM “air-gap”, and through mica sheets, the maximum temperature will when it reaches the fragrant wood will be approx 270°C which is still a bit high. You can add an added mica sheet in between the heating element and the fragrant wood to drop the temperature further, or just turn down the voltage on your variable power supply. For heaters, it is always better to design one that can go hotter, than design one that is too cold even at the max voltage setting.

Basic Functional Heating Wire Threading through a mica sheet to give the heating element
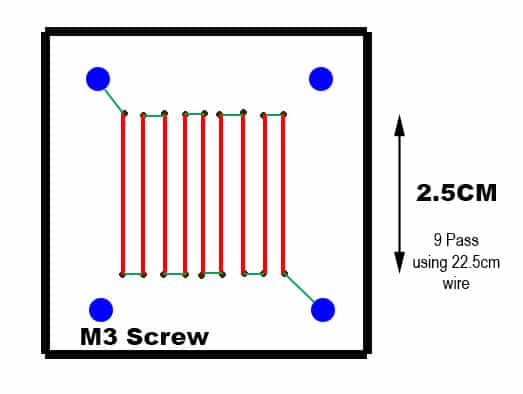
Instead of asking you guys to do complex threading as you can see in the Subitism, one can start with the basic zigzag weave, which works decently. The heating area here is 2.5cm x 2.5cm in the middle of a square mica sheet. The Blue circles are M3 Screws, the green and red lines is 27cm worth of heating wire. Green denotes “Under the mica sheet”, and Red is on top of the mica sheet. the black dots in the picture are the holes that you should be making on the mica sheet so that you can thread the wire through.
With 27cm of wire, 9 passes will use 22.5cm, the green areas will use about approximately 5cm so the total length will be just enough. Up to this point, if you have any basic electronics background.. you should be ready to make your own heaters 🙂
