I had received some requests on how to actually go about making incense sticks, and there were comments on my earlier post that I had not show how the incense dough was made prior to extrusion, and how I managed to get such straight sticks and scale up my production. The truth is, I’ve not been able to scale up production as everything’s still very much purely hand made, from converting the raw material into powder, to the ingredient blending, to the extrusion, drying, collection etc.
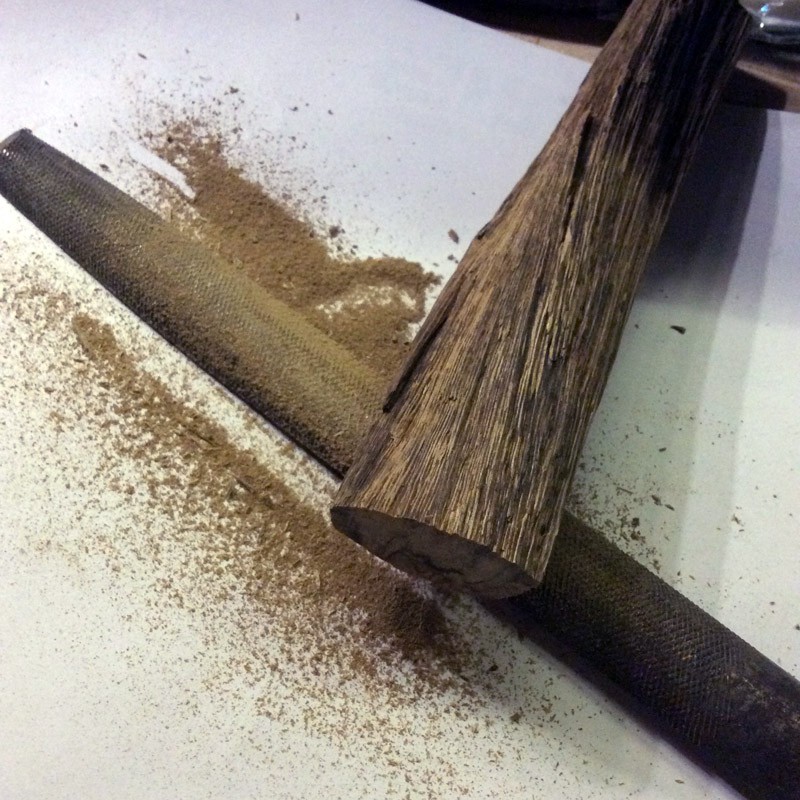
First, one starts with raw material processing into powder. For quality fragrant woods you may have to resort to gentle and slow filing with a metal file to get fine powder without unnecessary heat/melting of the precious resin. An hour of work usually gets you around 2 grams of powder.
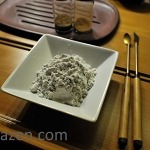
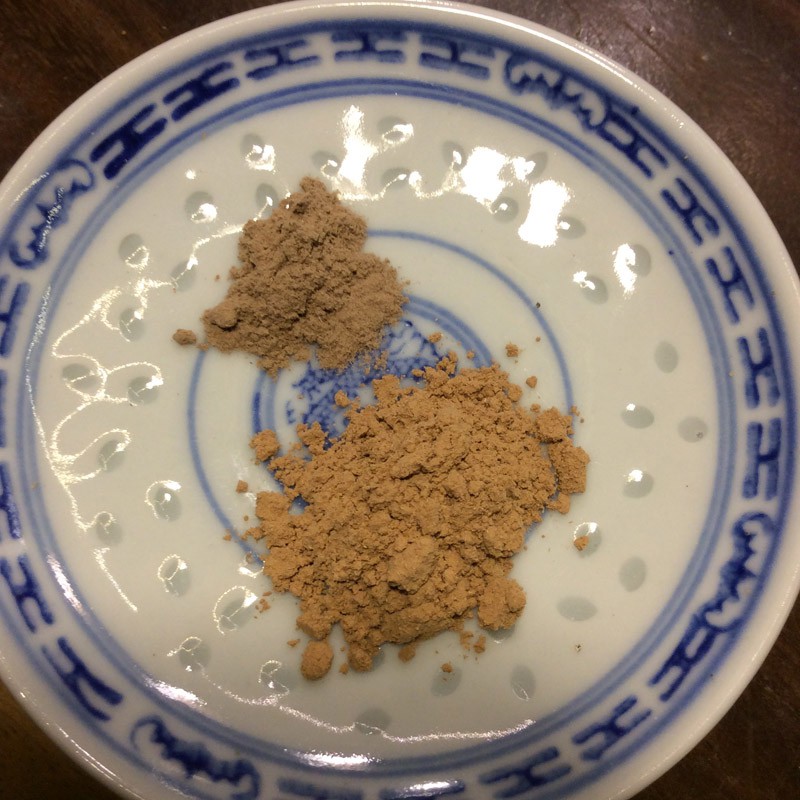
After having obtained the fragrant wood powder, one has to decided on the binder (makkoh) content. In the picture below, the makkoh is the powder on top, whilst the powder below is sandalwood powder. Usually one starts with 20% Makkoh Content by weight, but if the fragrant wood is very high quality, the powder is very dense, then 10-12% binder is sufficient for successful stick extrusion. But if the powder is very fluffy and light, and coarse, like ground leafy herb powders when the volume is big, then the amount of binder must be increased, and one may consider 1o-20% volume instead of going by weight.
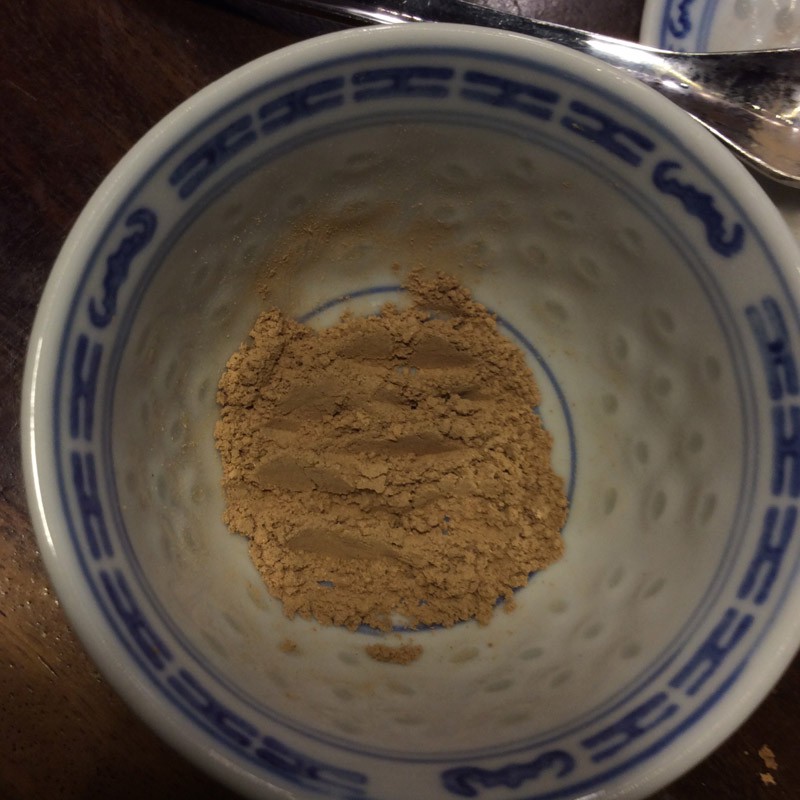
Transfer the powders into another vessel and stir to mix all the powder homogenously
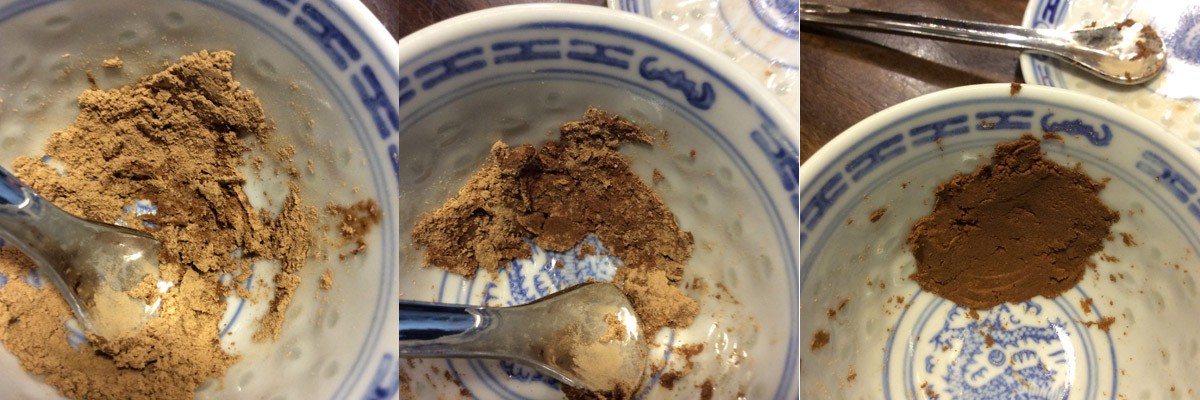
Add tiny drops of water and keep mixing. The amount of water must be added very slowly and carefully, so as not to end up with excess. As pictured below, you can see in the left there is very little water, and in the middle, more has been added with the powder mixed in. Still insufficient. The picture on the right is the incense “dough” that has had been added with the right amount of water and kneaded. Excess water is bad and will make the extruded sticks hard to handle, very soft, and also cause problem with shrinkage.
You may pound the dough, knead it for ten to fifteen minutes to make it really homogenous. The dough must be in a state where it can be easily picked up. If too much water has been added, it will smear too much and will be too soft to handle. If too dry or with too little binder, the dough will be too powdery and brittle which will not allow successful extrusion. Once done, you can cut the head off a syringe, and use it to compact the dough into cylindrical shapes.
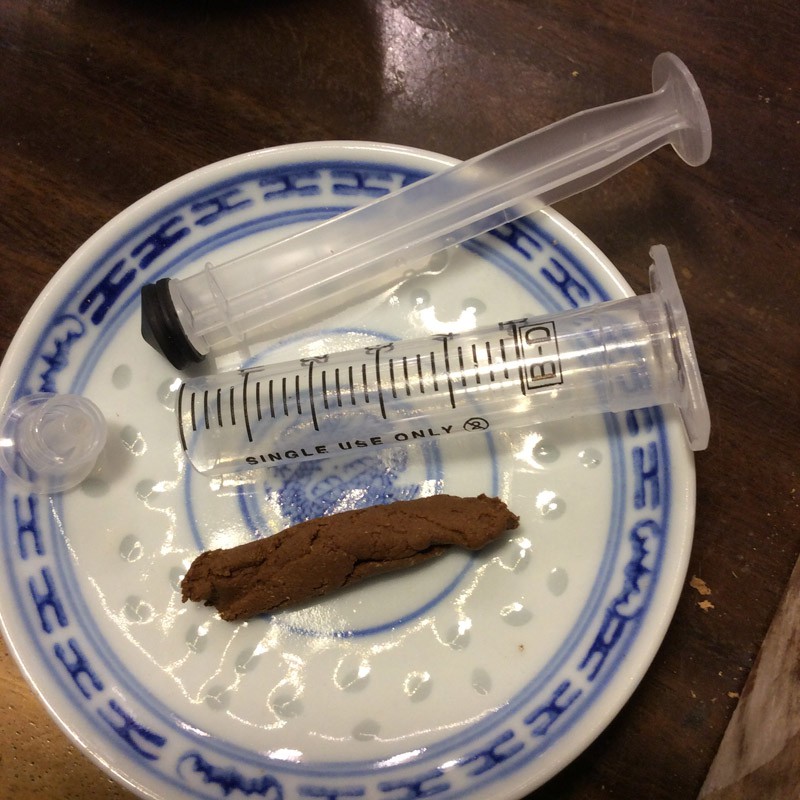
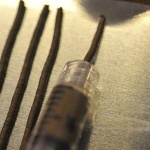
Putting the dough into a syringe with the head removed.
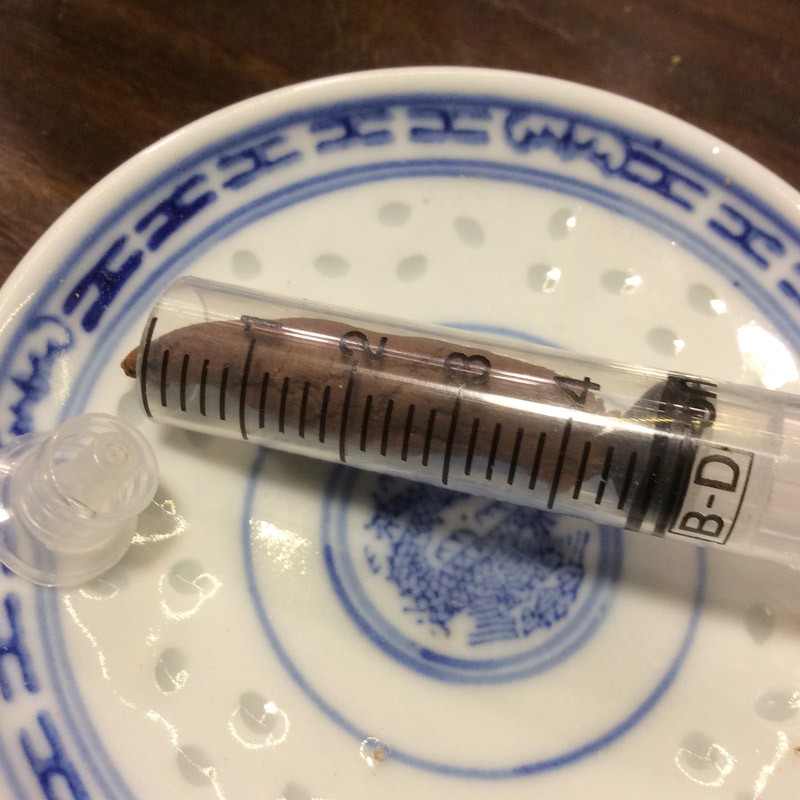
Compression to create nice cylindrical shape
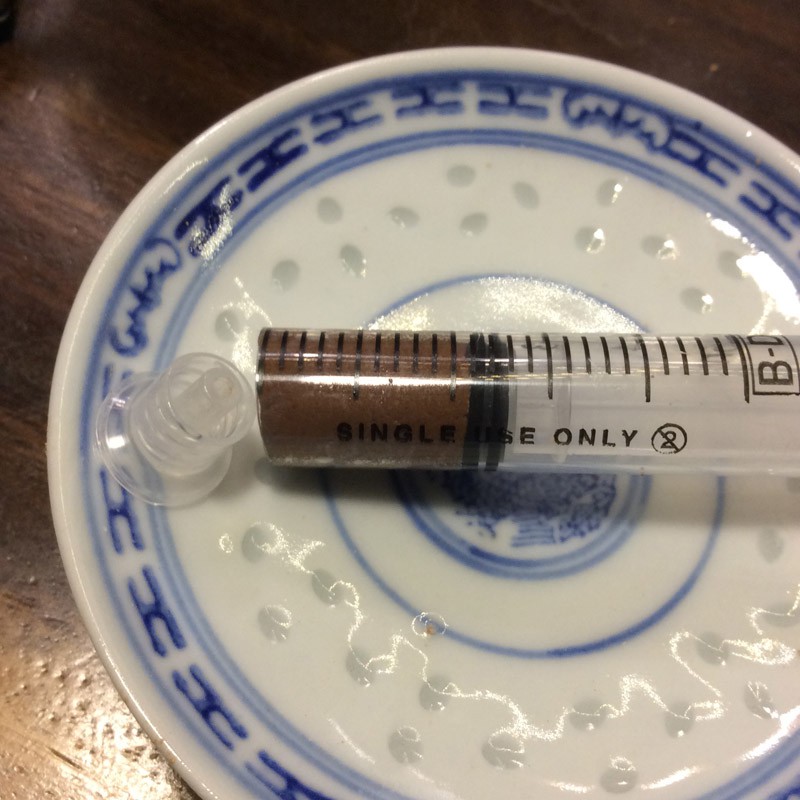
Transfer the cylindrical dough into another syringe and carefully ensure minimal air where the plunger touches the incense dough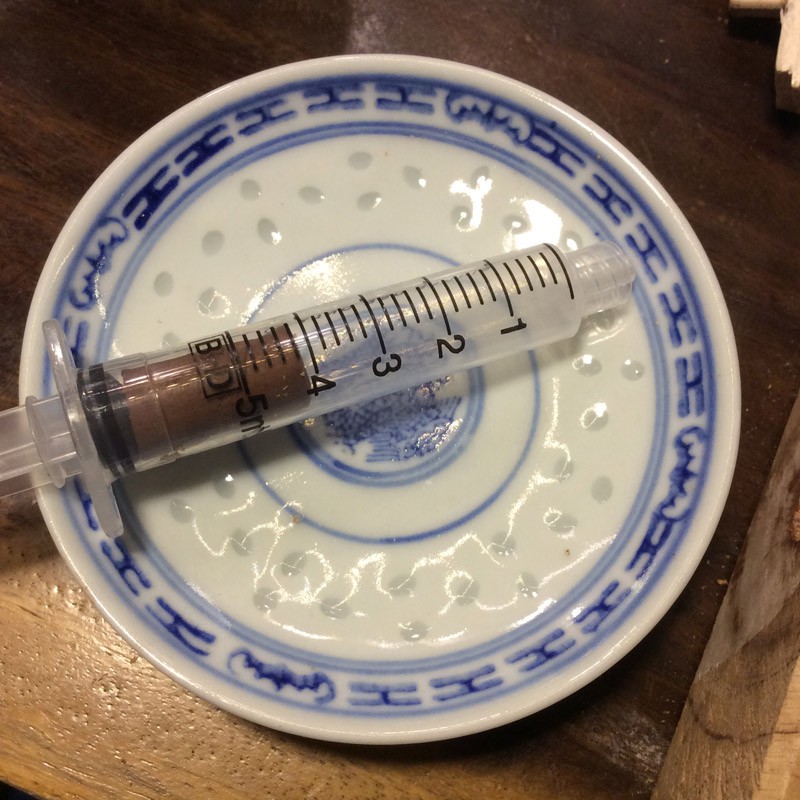
Push the dough forward and if you do it well, there is minimal air in the system. If there is air, the sticks will not extrude properly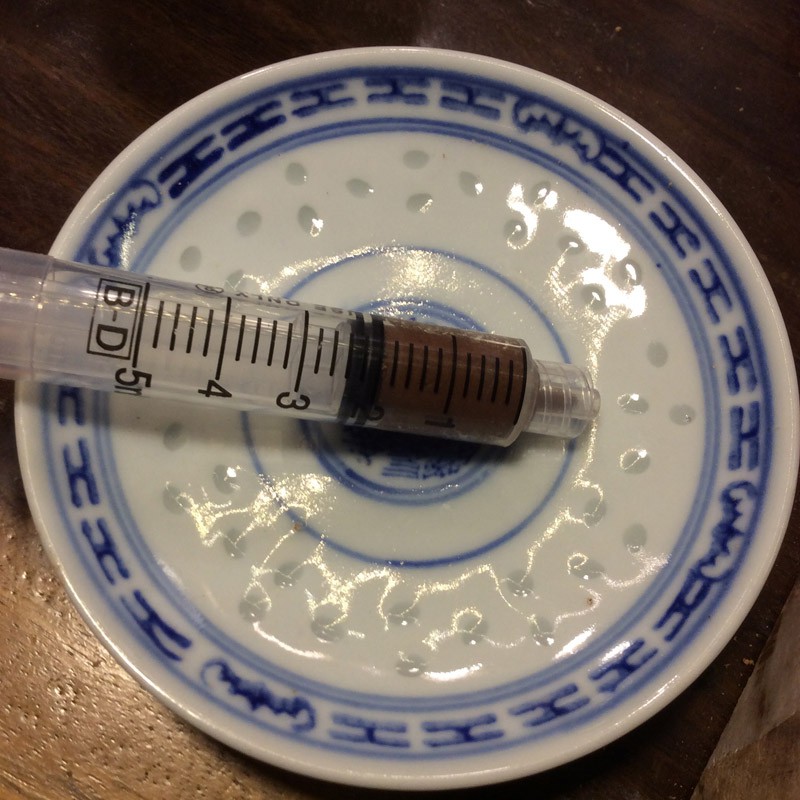
Squeeze!! and there you go, the sticks are formed 🙂
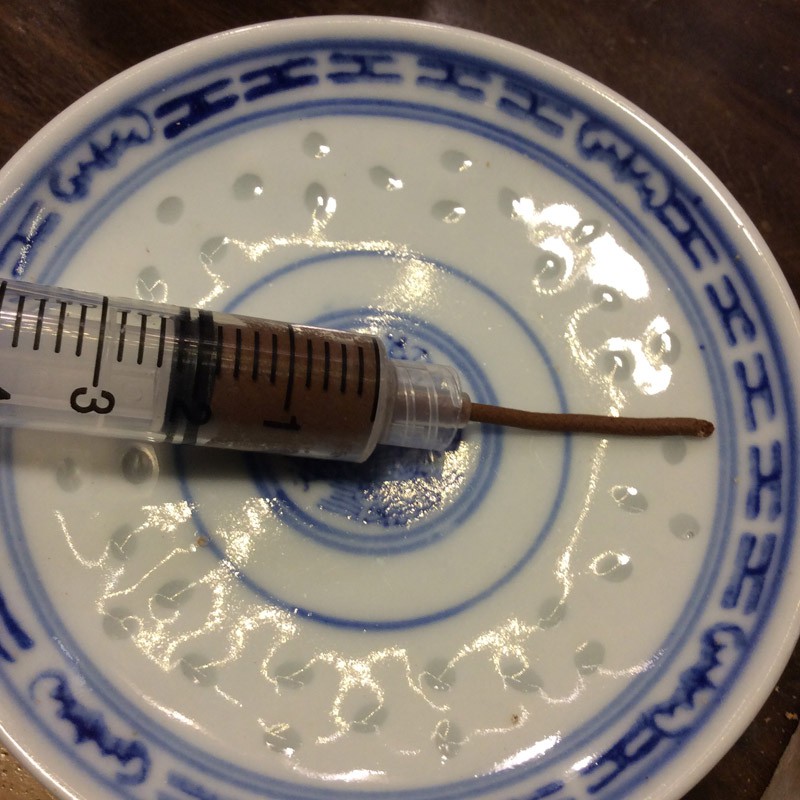
On a bigger scale production, one can knead a large incense dough ball after having finalized on a recipe. After that, carefully use the syringe with out the head, to compress little cylinders of dough to facilitate syringe loading, minimal air and good compactness.
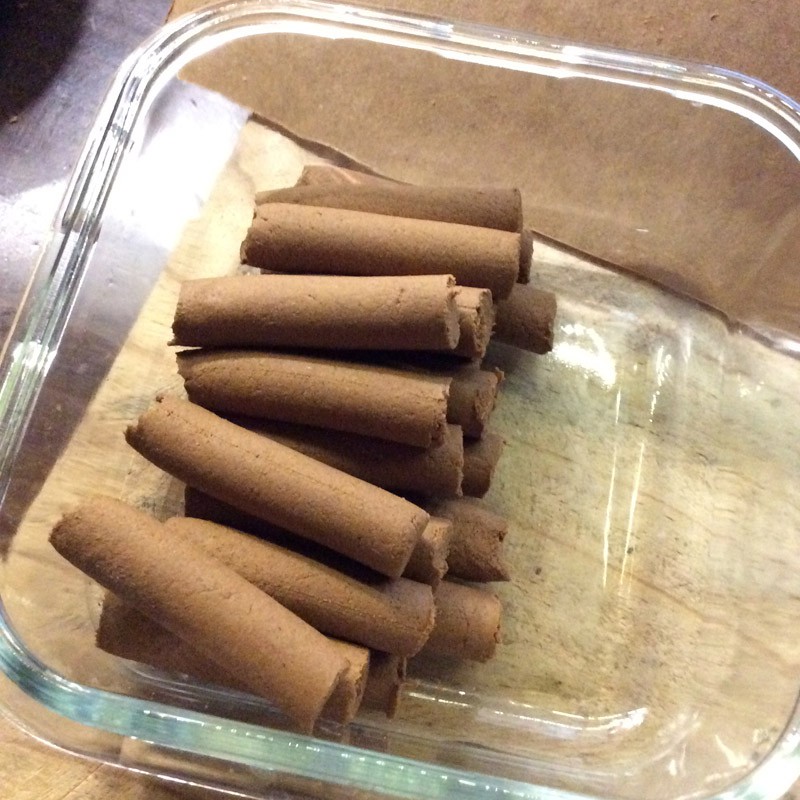
Using syringes, one can extrude the incenses as sticks onto an acrylic board. It is a tedious process! and also can be quite tiring. You have to try it yourself to know how it feels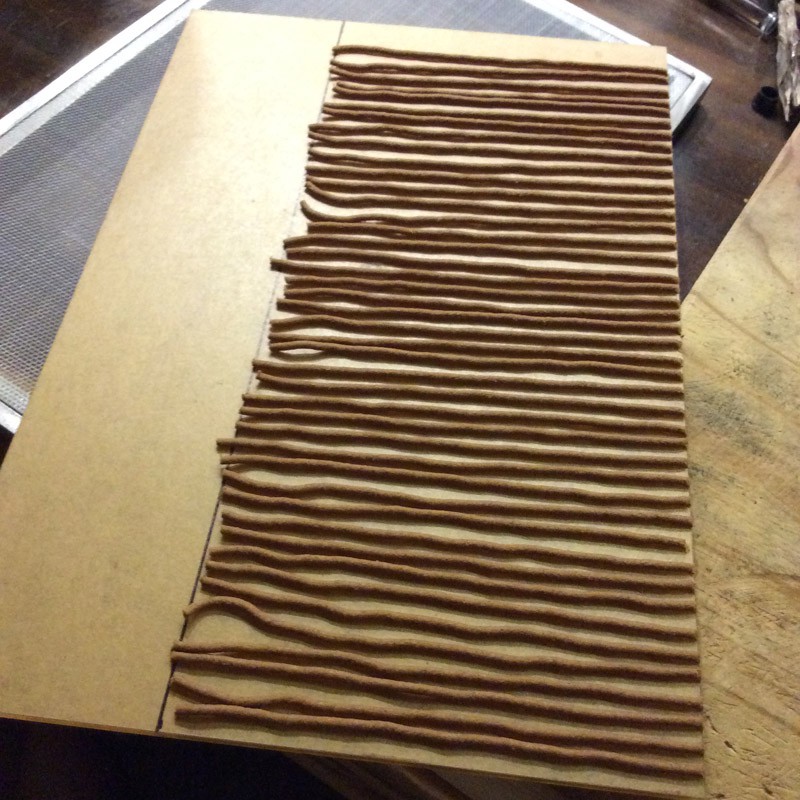
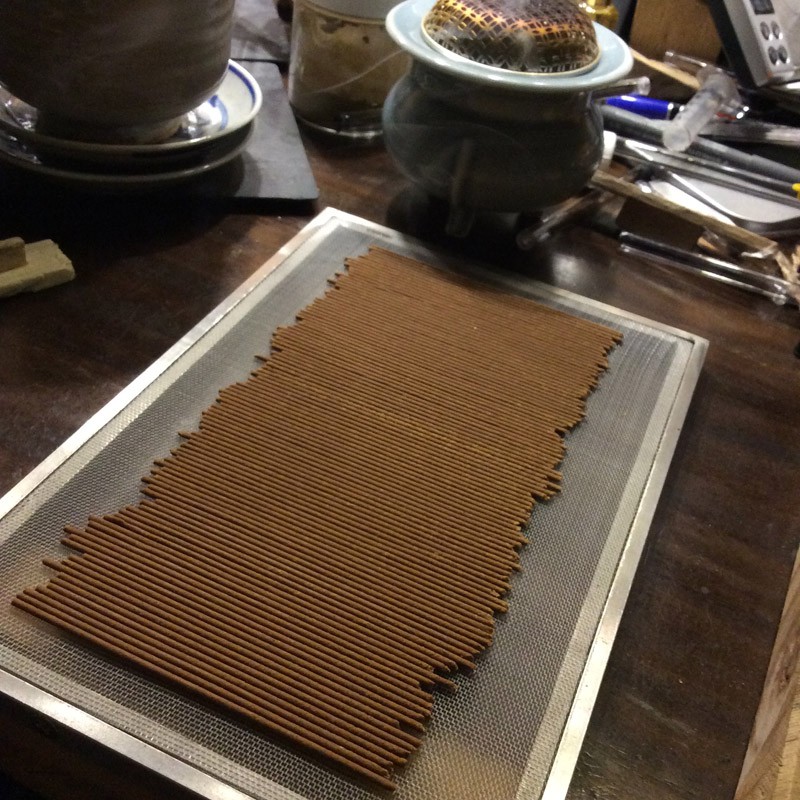
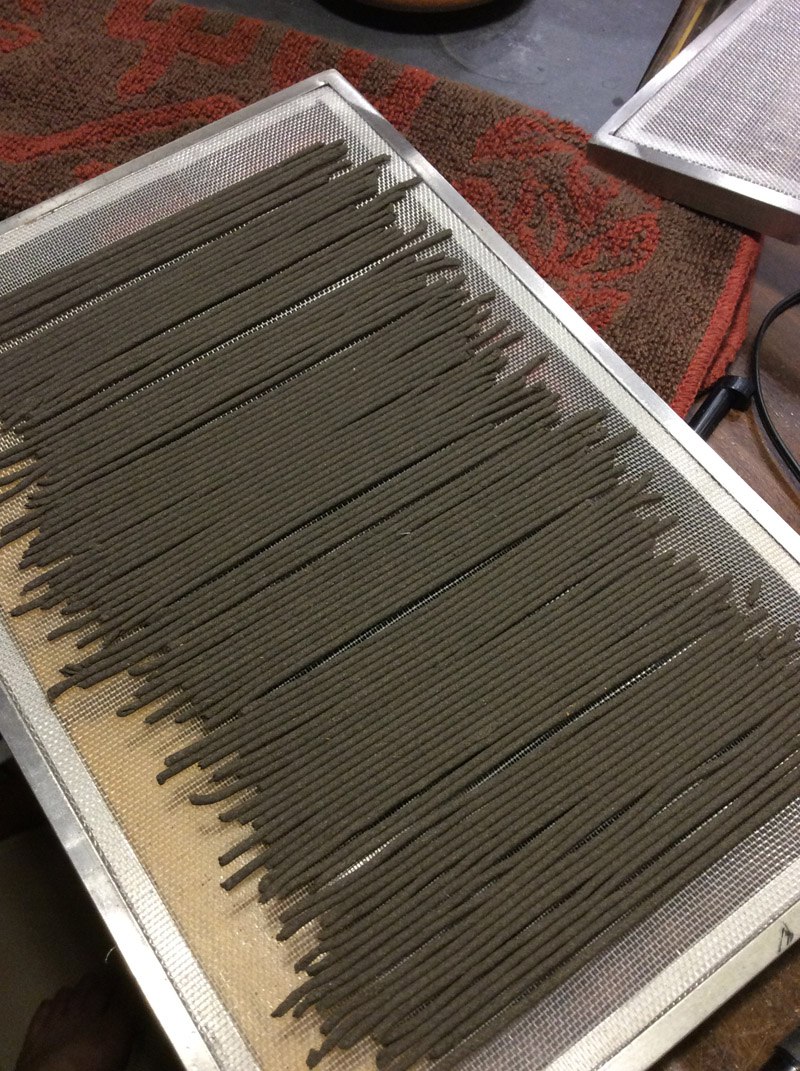
And finally satisfaction is achieved when you have a full layer of straight sticks drying! These are pure cryo-ground mysore heartwood sandal sticks that I have some available on Etsy at the moment
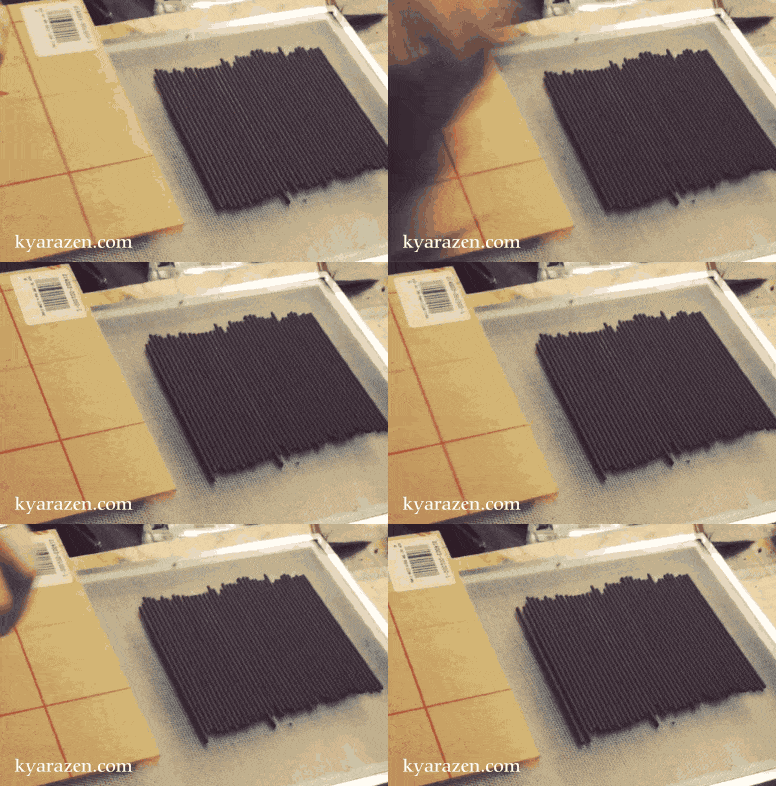
So how are the sticks straightened? Manually! Rolling with a small wood rectangular wood block stick by stick 🙂
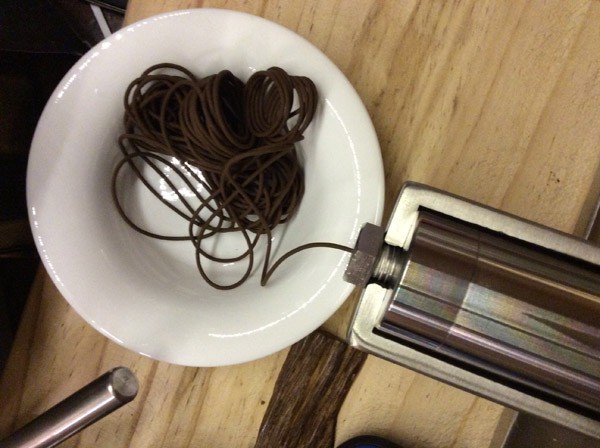
If you’re really lucky to own a stainless steel mechanical extruder, it is way more convenient than a syringe! However I will not recommend extruding everything at one shot and trying to straighten and cut from there on. If you use very little binder, everything crumbles at very soft touches, and as you are handling the incense strands, they will stick to each other, start drying out etc, making you really irate 🙂
These are 1mm thin sticks.. the most challenging I’ve ever made
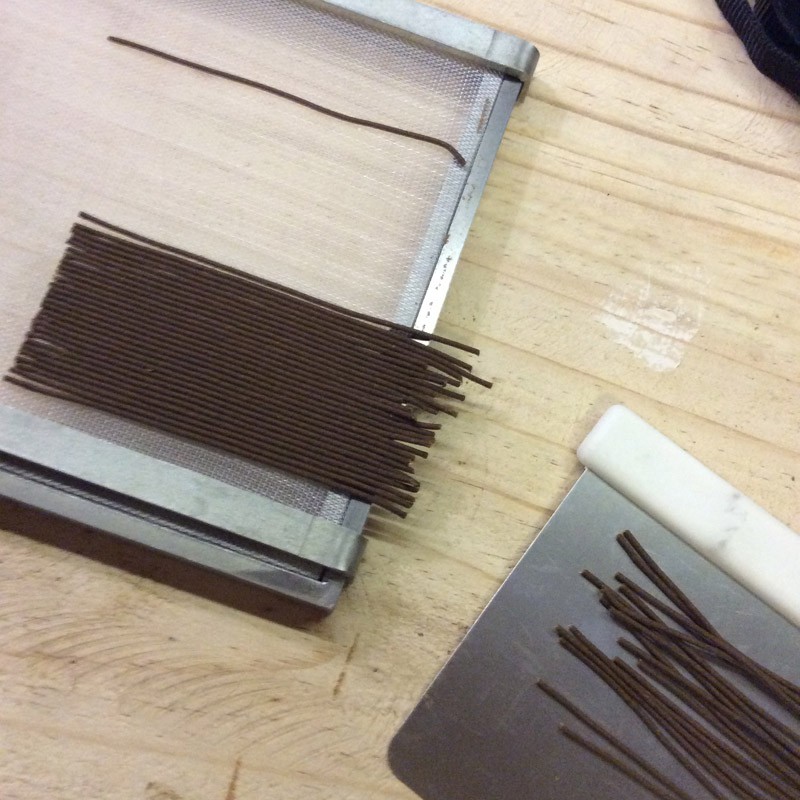
And many times, when your sticks dry, you will be dismayed to see them warped and curved. One of the main reasons is that there is too much water in the incense dough, so the binder when dry, tend to shrink disproportionately, ending up with curved sticks. These sticks can burn though.
And at other times some seemingly harmless stick doesnt seem to combust. The problem with using too much sinking agarwood powder. Beautiful sticks, but they have to be destroyed. On sinking agarwood, one needs 10-15% charcoal powder to be added to aid combustion.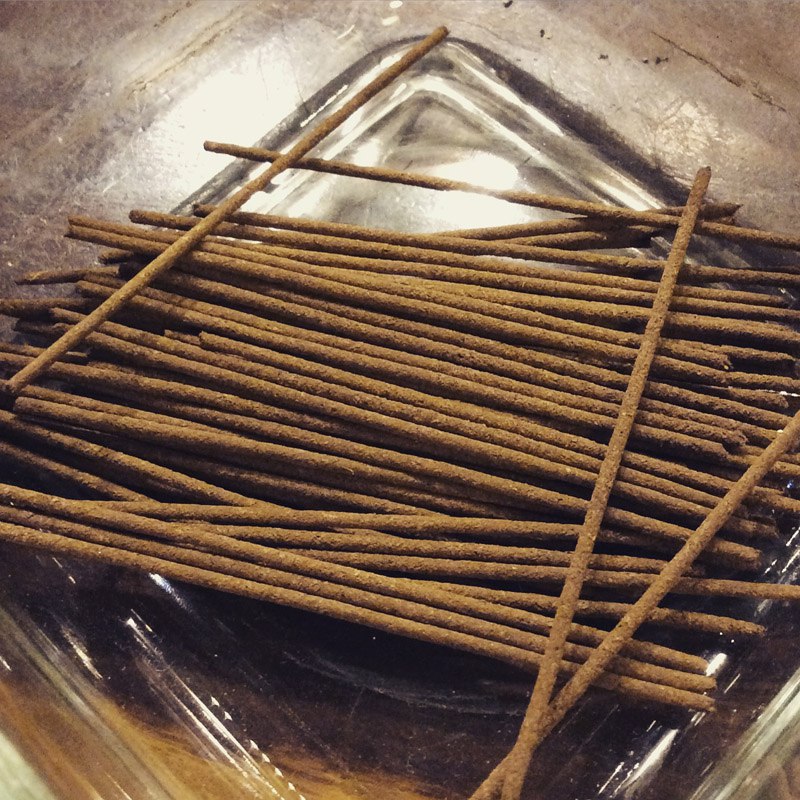
A nice batch of Zen Moon almost dry 😉 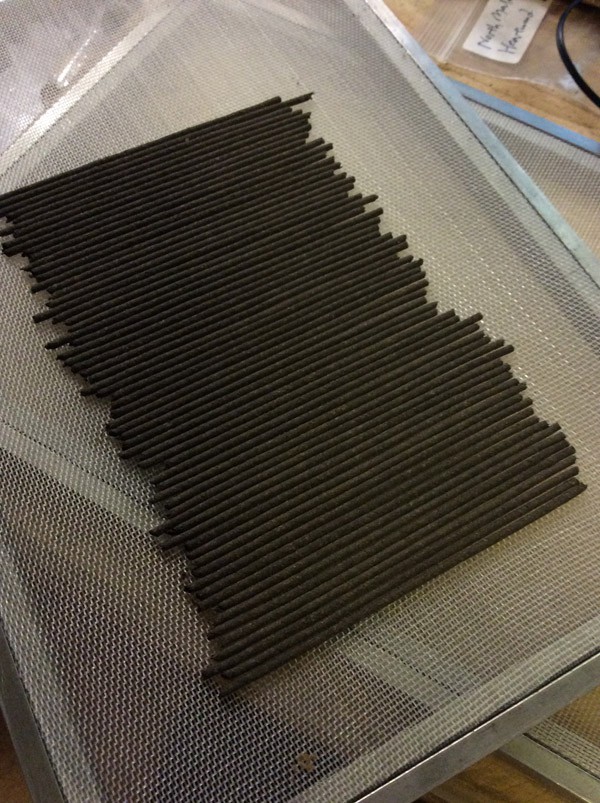
And a recent “bold” project, the Sunken Journeys incense sampler series, premium aloeswoods from different origins, all hand ground and hand extruded. All carefully blended to show aloeswood in its finest burnt form.
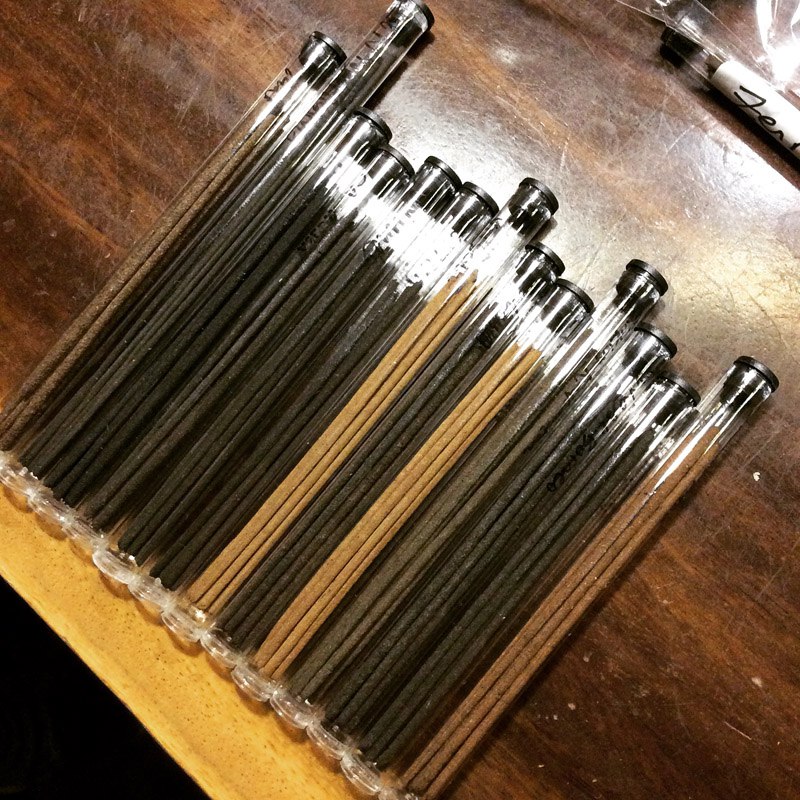
And there you go, Incense Stick Making. No rocket science! Just pure effort and dedication, and bravery on your part to attempt.
The hardest thing in incense making is the RECIPE, especially in blends, and choosing not to use any synthetics. In the past months I had been working very closely with a good friend whom has superb incense blending skills and perceptions. Attempts have been made at recreating Tang and Song Dynasty recipes, but we’re still learning along the way on the intricacies and complexities. Occasionally, small quantities of what we make may be made available on Etsy, so do watch that space or inquire from time to time 🙂
at the end of the day, it is really nice to watch the smoke emanating from the incenses that you make :
